Hej alle.
Beklager denne guide er på engelsk, men jeg gider ikke skrive den om på dansk. Men dette er resultatet af, at en kammerat og jeg selv har monteret en Scott oiler på min SV
I have had bikes for some years now but this SV1000 is my first bike with a chain. I have been browsing the Internet to learn how to maintain various parts of the bike and I found the subjects on how to maintain you chain and sprockets to be somewhat conflicting. But I quickly realized after 5000 km that the chain lube jobs is what I hate to do the most because with small lube intervals of 300 km this would mean lubeing the chain after each ride in my case mostly.
So I browsed the Internet and found the Scott Oiler which hopefully would do the job for me. My rear wheel well look like shit but this I can clean every week or so. Also the chain will be lubed automatically even though it rains which I does a lot here in the DK.
So I bought the Scott oiler MK7 universal kit which I and a friend of mine decided to see if we could install it. My mechanics skills are very limited and I could not have done this without the help from my friend.
Also the process that took up most of the time was to find the best way to install the Scott oiler and how to fit it as nice as possible so tubes was showing a little as possible.
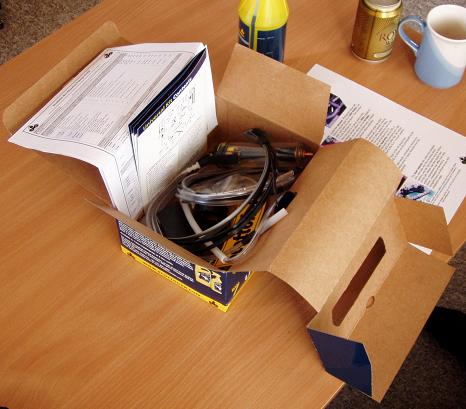
The SV1000 used for the installation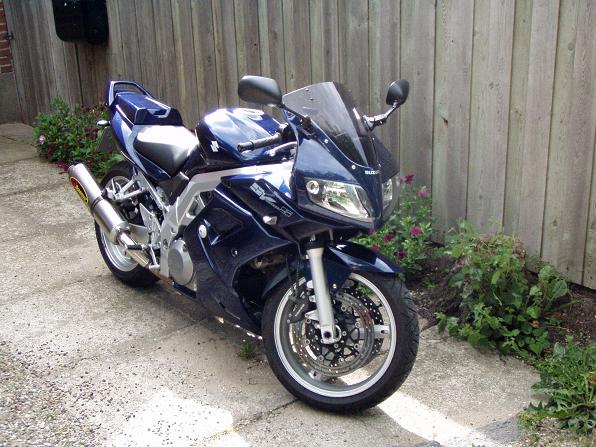 The Scott oiler MK7 universal kit
 There are pretty much all you need to install the Scott oiler kit. You may need additional strips to tighten the tubes to the frames to make it look nice and tidy.
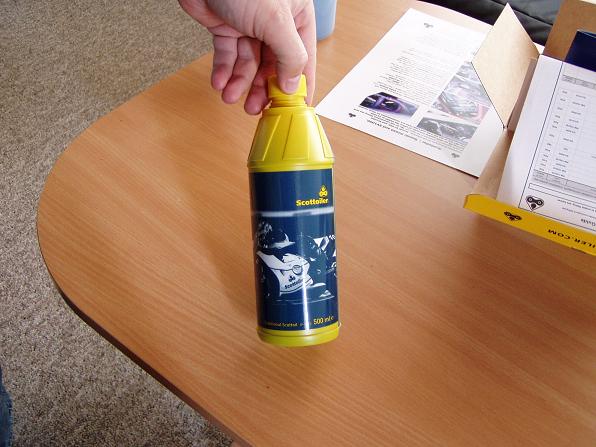
 The oil
In my research on the internet I found that many Scott users do not recommend the oil that comes with the Scott oiler kit. It is indeed very thin oil and I don’t think it will lube or stay on the chain efficiently. And because of that assumption I choose to use some SAE 10/40 engine oil which also is much cheaper to refill. You can also use the oil you drained from the bile on your last oil change. I put in new oil this time though.
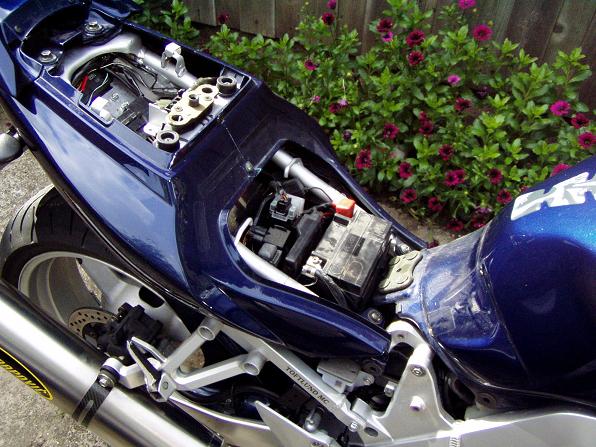
 Installing the bracket and fittings Scott pump
After removing the seats we took some time to find a place to install the pump so it was easy accessible for adjustments and refills. Also taking into consideration that it was not at pretty device to mount anywhere on the frame of the SV. So we decided to put it in under the back seat even though it would use a little of the limited cargo space that there is on a SV1000. Some might argue against this decision
 We had to bend the bracket for the clamps in order to make the tank tilt enough so I would not have to refill it all the time. Best vertical fit equals less refills.
 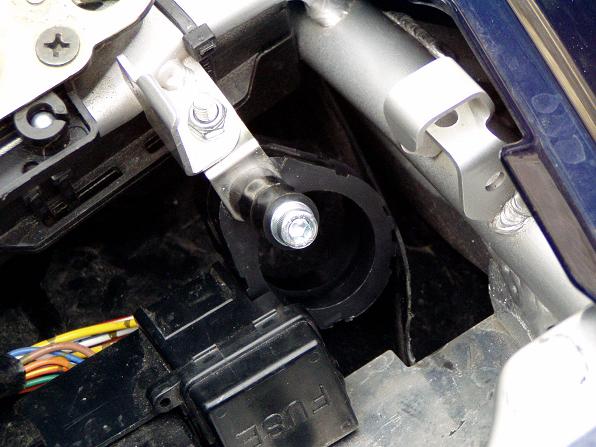 Installing the lubrication tube
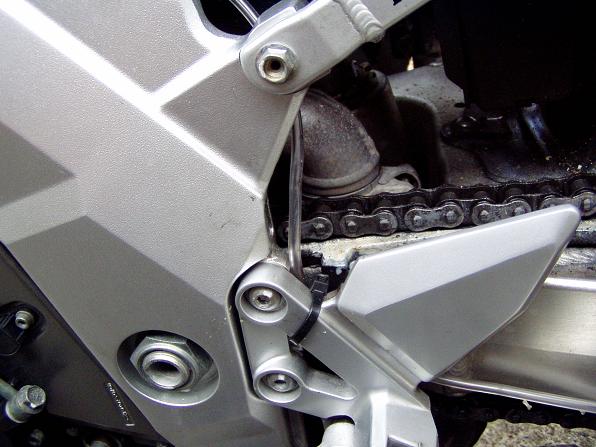
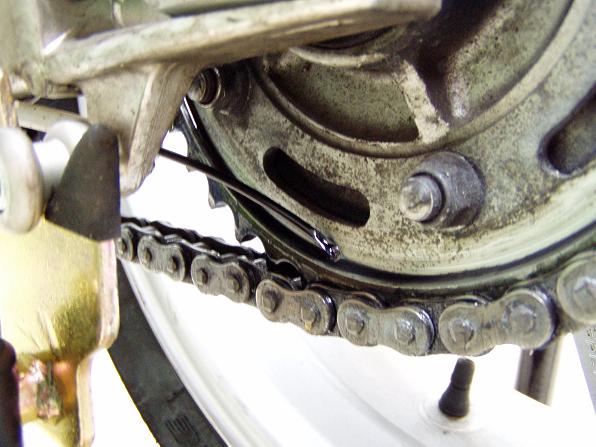
We started at the sprocket and worked our way to the back seat as these next illustrations will show. On this picture below you can see some tube coming from the swing arm onto the frame. This is the only place where tube visible besides the back sprocket. We could not find another way but it also gives an indication if there is oil in the system or not.
 Into the fairing and along left side of battery
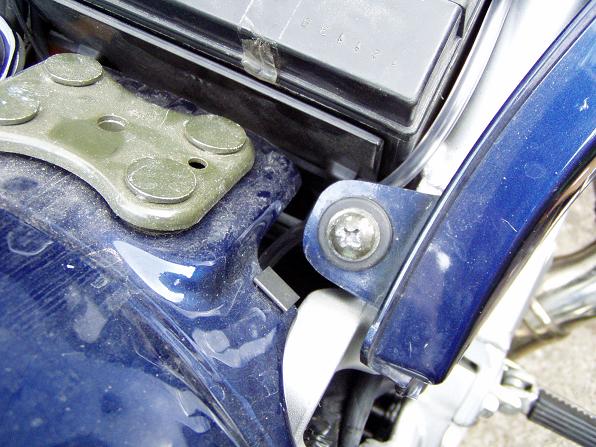 Between the front and the back seat
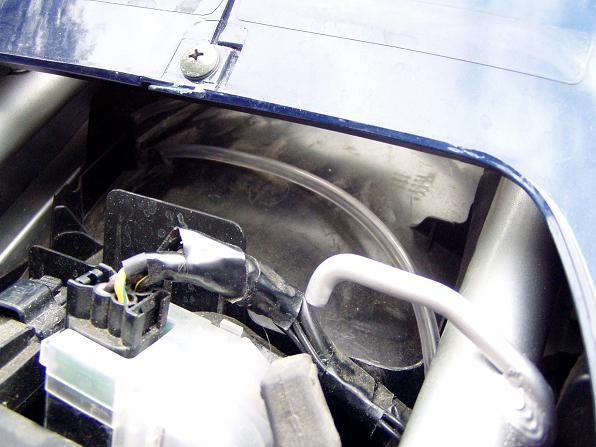 Connection to the Scott pump
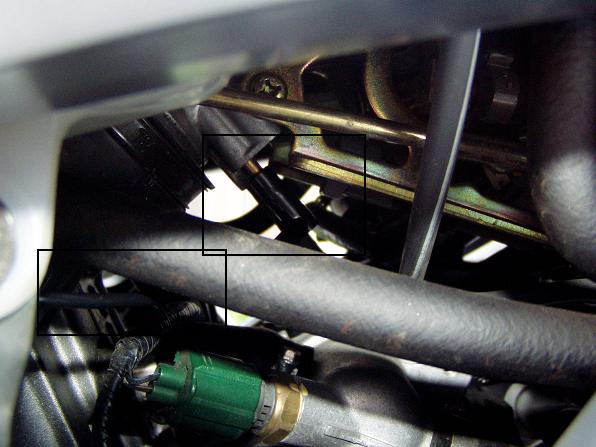
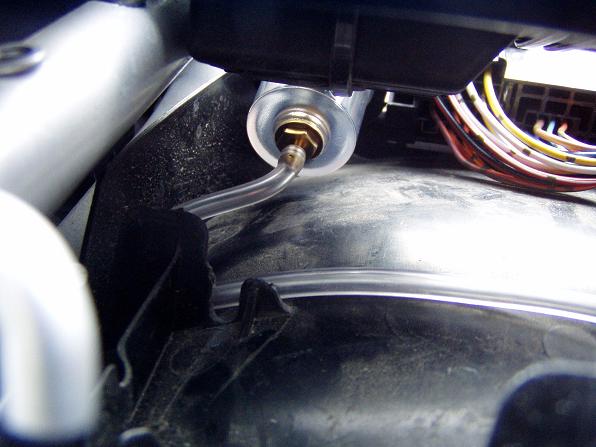 Installing the vacuum tube
This was the hardest part off the process to install because the bong is turned inside the cooler and when you have an SV1000S model with fairings there is no room to access the nub from the front. It´s easily done on a SV1000N or S model without the fairings.
 Vac. tube under the tank
 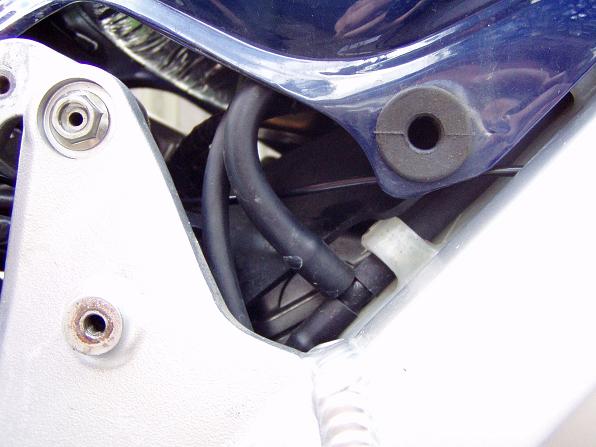 Vac. tube along right side og the battery and under the seat. Keept nice and tight.
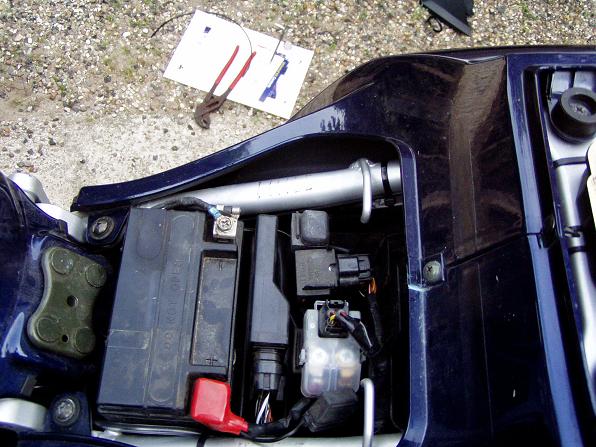 Vac. tube connection to the Scott pump.
 Installing the breathe pipe and remember that this must be above the tank otherwise it will not work .
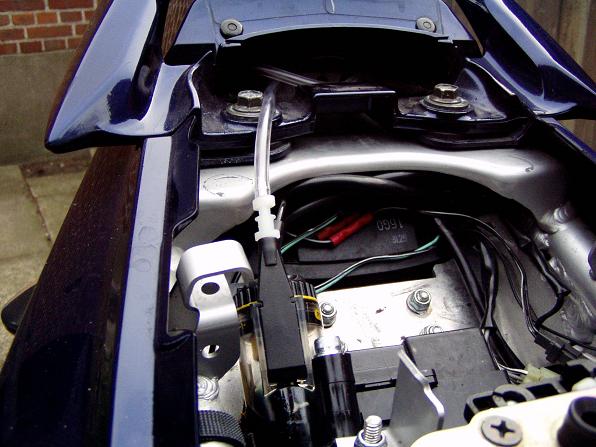 Starting the system.
Only thing left it to fill the tank with the oil of your choice and the prime the system as specified in the Scott Oiler installation manual. This is easily done so I won’t bother with it here. Then when the system is primed turn on the bike and adjust the drop intervals to keep your chain lubed.
 Conclusion
 - Installation time was as long as it took to write this post.
- Make sure no tubes are against sharp edges and they are not strapped to tight so there is no flow.
- Inspect the tubes before installation and test the vac. tube first.
- Don’t cut the tubes before you are sure the equipment is mounted where you want it and don’t cut it to short. Make the pieces a little longer then needed.
- Take time to clean chain and back sprocket so you can see if what you made works. I haven’t done this yet in any of the illustrations.
- Make sure that you can pull the bile backwards without the end tip of the oil tube hitting the sprocket.
Greetings
Wings


